
[ad_1]
Putting in an irrigation system for our flowerbeds has been our high #diygarden precedence this summer season. We explored a number of irrigation techniques, and we lastly determined to present a soaker hose irrigation system a attempt. This technique is nice for people who find themselves inconsistent with watering their flowerbeds (like us), the added bonus is that this setup is tremendous cheap and SO straightforward for a DIY set up.
An skilled gardener as soon as advised me it’s essential to know your self earlier than you understand how to backyard. So sensible and so true! We’re removed from being gardening specialists. Regardless that we downsized our yard, life has been so busy for us that we knew a DIY irrigation system can be needed to assist us with repairs. And who doesn’t love an exquisite, lush flowerbed?
Advantages Of Our DIY Irrigation System
- Handsfree Watering: The way in which we’ve set ours up it’s actually a “set it and overlook it” irrigation system.
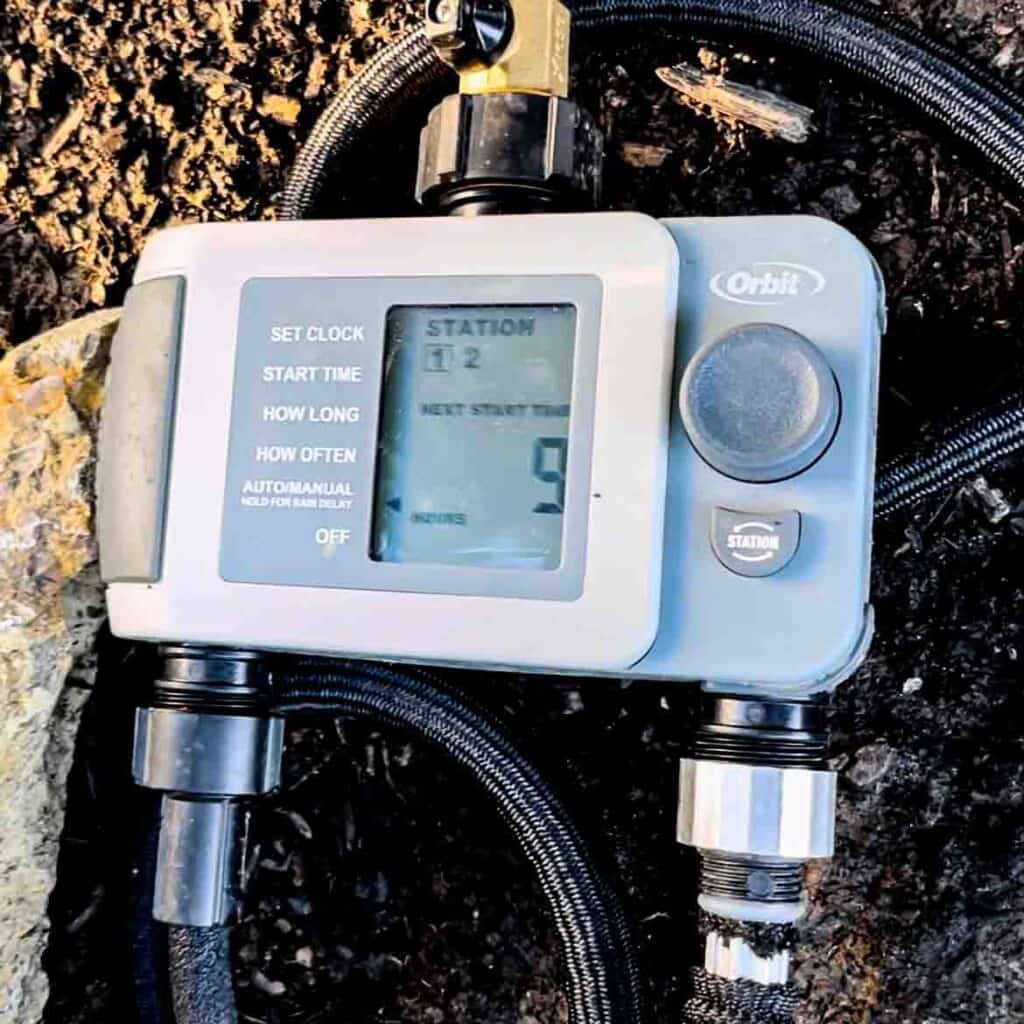
- Dependable & Constant: Our timer is about up so we by no means miss a day of watering, even once we’re on trip!
- Straightforward DIY Set up: The hose system with easy-to-follow directions is a win!
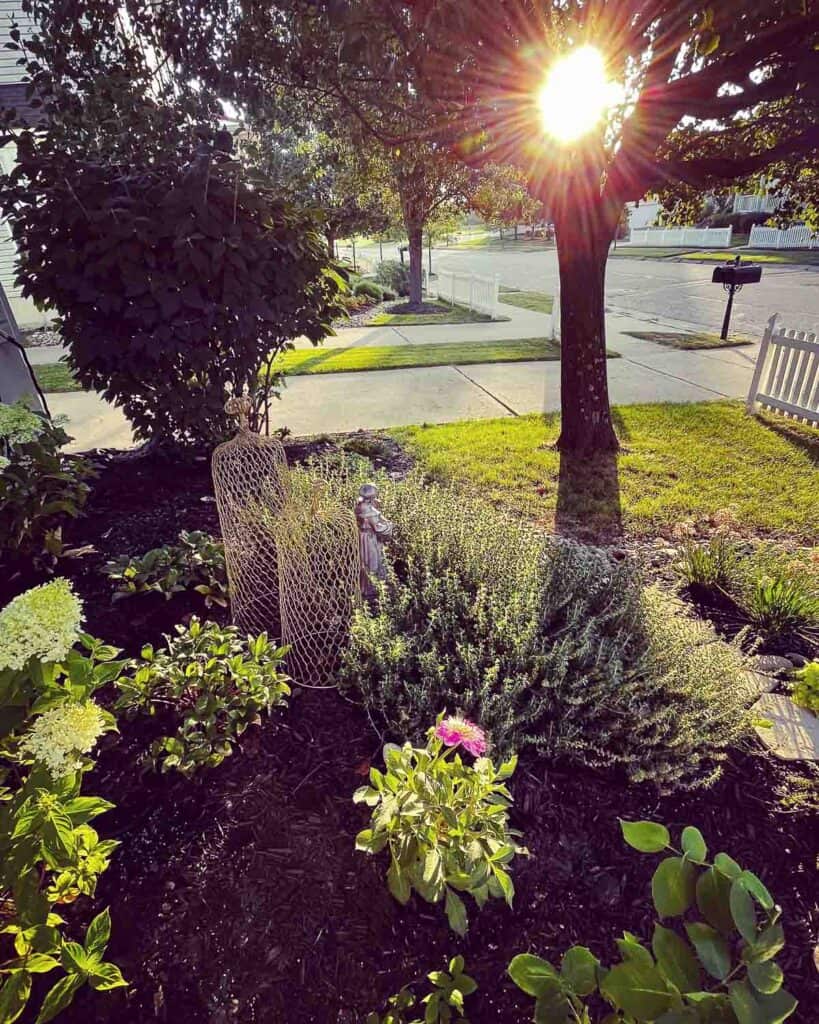
- Invisible: Nothing is apparent or seen, the soaker hoses are hidden beneath topsoil and mulch.
- Customizable: You possibly can customise your irrigation system to suit your panorama dimension & form.
- Conserves Water: No overspray or water waste, water is delivered on the roots proper the place crops want it.
- Timer Setup: We personalized our system to water each side of our entrance flower beds at various occasions.
Suggestions for Putting in a DIY Irrigation System
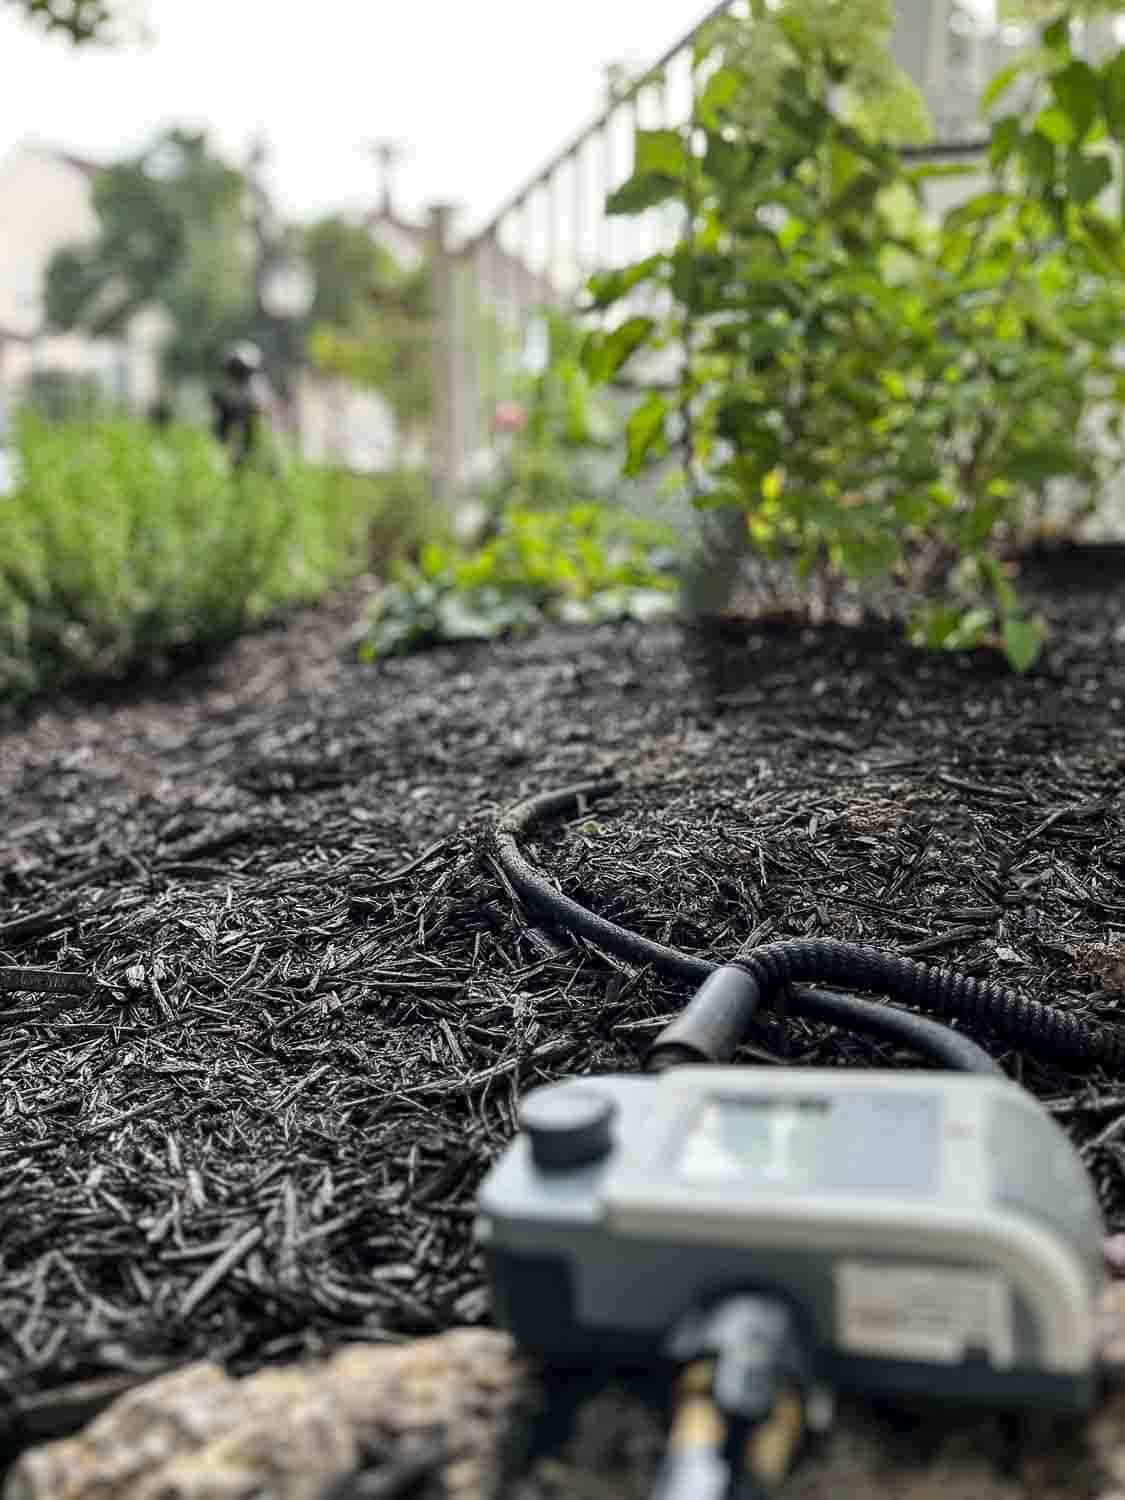
The important thing to gardening bliss is if you arrange a timer for a really hands-free watering expertise. Our timer is about as much as water the beds each different day (50 minutes is round 1/4 inch of watering). We uncovered the hose above floor for a couple of week to make sure the timer and hoses have been all working correctly. As soon as all techniques have been working easily, we buried the hose beneath a lightweight coat of topsoil and secured them utilizing floor staples. Then, we mulched overtop.
Listed here are the steps:
- Prep the Hose: Soften the hose by laying it within the heat solar. Untwist so it lays flat and is simpler to work with
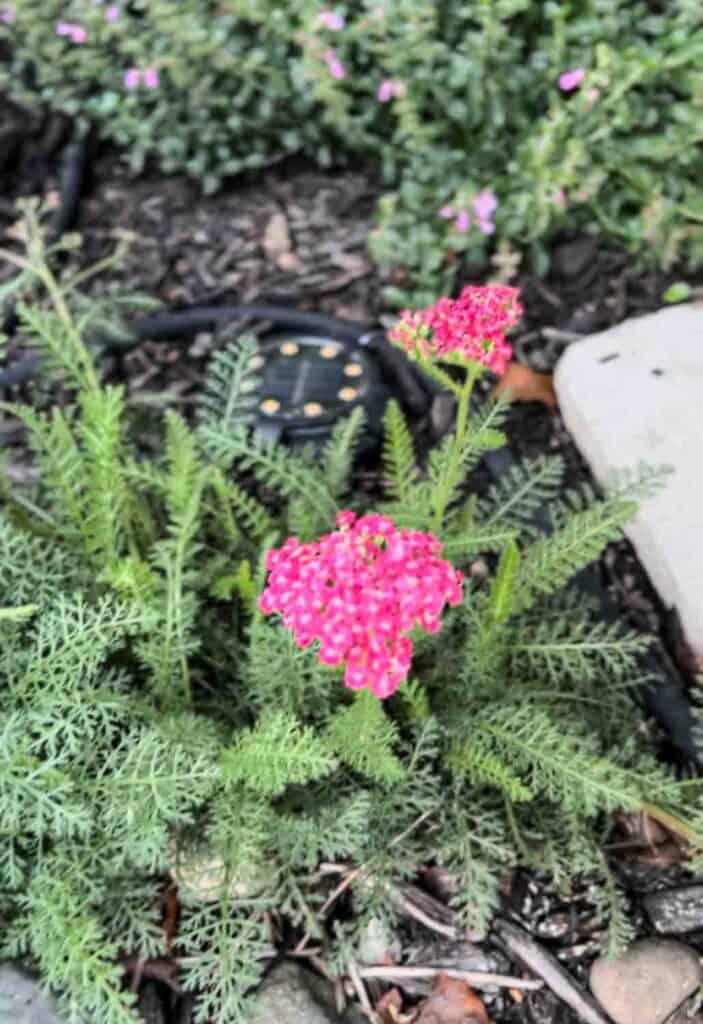
- Preliminary Structure: Start laying hose close to roots of current shrubs or flowers.
- Frivolously Safe: Use backyard staples to safe the hose so it doesn’t transfer with you, these will be relocated later.
- Uphill vs. Downhill: When selecting a location, at all times place the soaker hose on the uphill or excessive facet of slope so the water can naturally drip downhill and into the foundation system.
- Everlasting Placement: Upon getting your configuration in place, use a trowel to dig a shallow trench & place the hose within the trench. Re-secure the backyard staples.
- Set Your Timer: Set it to run each different day for 50 minutes.
- Take a look at: Let the hose run for a couple of days to make sure it’s working on time and all crops are receiving water.
- Mulch: As soon as all techniques are a “go” – mulch and luxuriate in!
Store Our Cottage Backyard Favorites
It feels so good understanding our crops gained’t be uncared for and we are able to proceed including extra colour and sweetness to our #cottagegarden with out fear.
Subsequent, I’ll share our third-year journey with cottage gardening. I’ve added gardening to my record of favourite “exercises” and I’ve turn into a bit addicted! It’s onerous work, however so value it!
[ad_2]